|
TennisOne Lessons
Balance: An Essential of Shot Making Feisal Hassan, USPTA Master Professional One of the most important things in becoming a good tennis player is to be in the correct position to hit the ball. Not only does your footwork have to be good to be able to get to the ball, but you also have to be balanced once you get there. Therefore, a player needs to learn to master and control his/her body.
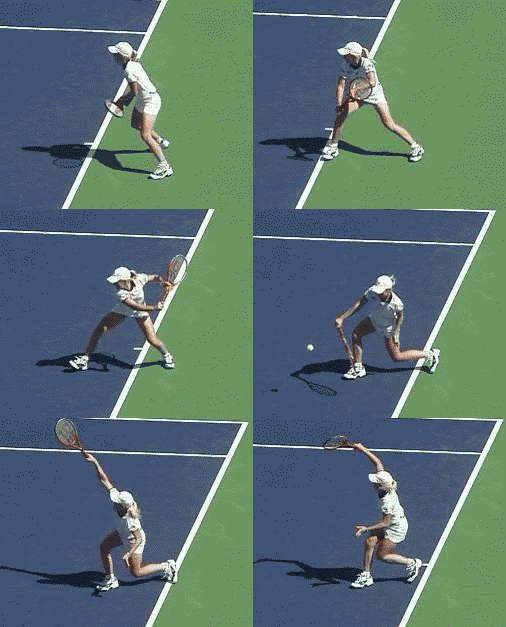
International research in junior competitive tennis has shown that losing balance while hitting causes 80% of all errors. Although reasons such as hitting the ball too close or too far away from the body, bad elbow position, too high shoulders, etc. are usually given; the real reason these problems occur are due to loss of balance. We constantly tell players to maintain their balance but that is much easier said than done. As coaches, we have to train some players how to be balanced. My experience has been such that balance training has either solved the corrective technique problem or magnified the problem and therefore making it easier to solve. Balance training must, from the start, be very carefully incorporated into the technique learning process. Top players almost never lose their balance, and if they do, they usually hit the ball like any other amateur player, because they are subject to the same laws of mechanics as the great mass of amateur players. Of course, the very top players will manage to save many situations thanks to their artistic ability, but this talent is rare, and is an exception rather than the rule. By undertaking a simple balance-training program, a player will know and feel how their head, upper body and leg positions will improve their balance. Dynamic Balance A player doesn't have to be still in order to be balanced. The concept of keeping your body and racquet under control while you are moving is referred to as dynamic balance . Of course this will not always be possible, especially when you are pulled wide on a shot. The key is to keep control of your center of gravity as much as possible while you are playing. The center of gravity is best described as the point about which your body balances most perfectly.
During an actual point in a match, your center of gravity may even fall outside of your body in certain points. Reaching or lunging pulls the body off balance which slows the next movement and keeps you from producing power on your shots. Keeping the center of gravity in line with your base of support provides optimum balance and, lowering your center of gravity, makes you more stable. The position of the center of gravity is very closely dependent on balance. There are three main factors involved in maintaining balance:
The organs of balance are situated in the head (more precisely in the ears). Twenty percent of the nerve fibers that leave the eye go to those areas of the brain concerned with balance. Vision and balance are thus connected. When the body is thrown off balance, the brain demands the eyes contribute information to help get the body back under control. The average adult head weighs 12-15 pounds. When we move our head excessively in order to see, we risk throwing the whole body out of balance.
Upper Body Position The upper body is the heaviest part of the human linking system. As a rule, it accounts for 43.46% of the total body weight. The head accounts for 6.94%, the arms 4.94% and the legs 19.86%. This weight ratio strongly implies that any inclination of the upper body near the shifting of the body's center of gravity must lead to instability. Thus, it can be stated that the head and the upper body form a unit. Leg PositionThe legs play a very important role in maintaining body balance. The leg position will be discussed later in this article. The goals of this article are to demonstrate a simple on-court balance-training program that will highlight what I consider to be the key fundamentals of balance to help a player develop neuromuscular control, improve a player's state of equilibrium, and help a player know how their head, upper body, and leg positions can improve their balance. Balance For the Beginner (1.0-2.5 NTRP) or less coordinated player To check balance, imagine 2 "Balance Lines" running through your body. The first runs from Top of the Head to Ground. Avoid bending at the waist or leaning over when reaching for the ball. The goal is to get your center of gravity (COG) to the ball not just your racquet. The second line runs Level Across the Shoulders. The goal is to keep this line level and avoid "tipping". Level shoulders help to make a stable racquet path. This "Barbeque Stick" must be kept straight for maximum balance. This drill idea comes from well-known and respected Coach Wayne Elderton (ACE Coach International). Balance Drill for Beginners Start with a mini-tennis rally. Both players cooperate to get team points. Give the team 1 point for contacting with both "Balance Lines" straight and 1 point for getting it in the court. This drill can be done against another team too. Call out when points are achieved (1 point, 3 points, etc.) When both players reach 20, the drill is over. Progress to ¾ court, then to baseline to baseline. Next, have one player at the net hitting volleys and play again.
The Balance Training Program The training program involves the following set of exercises broken down into four levels.
Level 1: Head Position Exercises Purpose: to help players identify and feel the head position during strokes. The best preconditions for good body-stability are an upright and still head position. The more the head is inclined in a given direction, the more unstable the body position will be.
Level 2: Upper Body Position Exercises Purpose: to help players identify and feel the upper body position. Care should be taken that, while hitting the ball, the upper body is kept in as upright a position as possible. Shoulders and Hips:
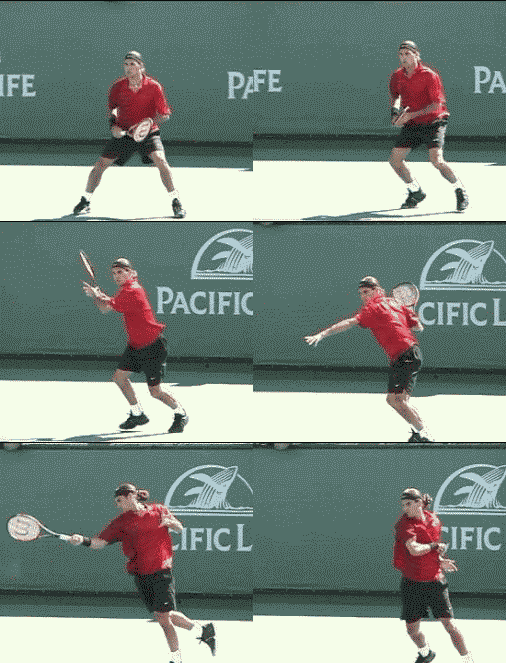
The non-dominant hand plays an important role in balance during stroke production. Just as a tightrope walker uses his hand to maintain balance, so does a tennis player. The non-dominant hand helps to facilitate upper body rotation and enhances a good center of balance by countering the racquet arm. Position of the Non-dominant Hand for Various Strokes
Purpose: to help players identify and feel the leg position during
Caches talk of the ideal athletic height. In tennis, this is how tall you are while standing in the ready position. With lowering your hips and bending your knees, a player should drop their height by one foot. So, if you are 6 feet tall, your ideal athletic height should be 5 feet. Drill: Imagine a chalk line around both feet in the shape of a rectangle. Player's goal is to keep their belly button over the center of the rectangle during stroke production.
The hitting stance should be a wide with knees bent. Which stance should a player use, the sideways or open stance? My belief is whichever the student prefers as long as the unit turn is performed (i.e. pivot feet, hips and shoulders and racquet is taken back in the preparation phase).
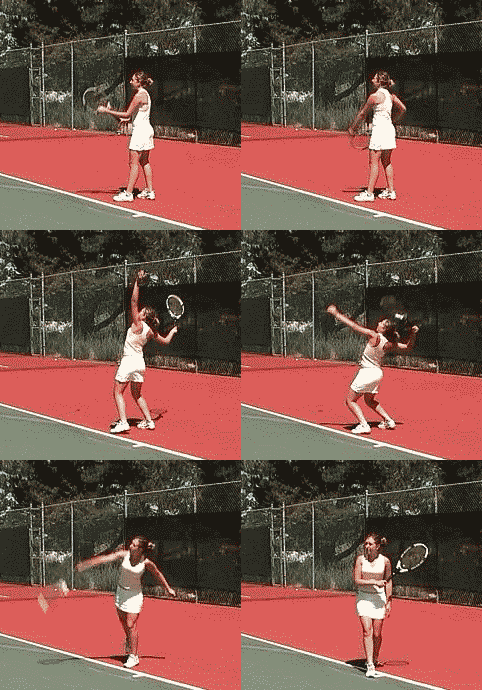
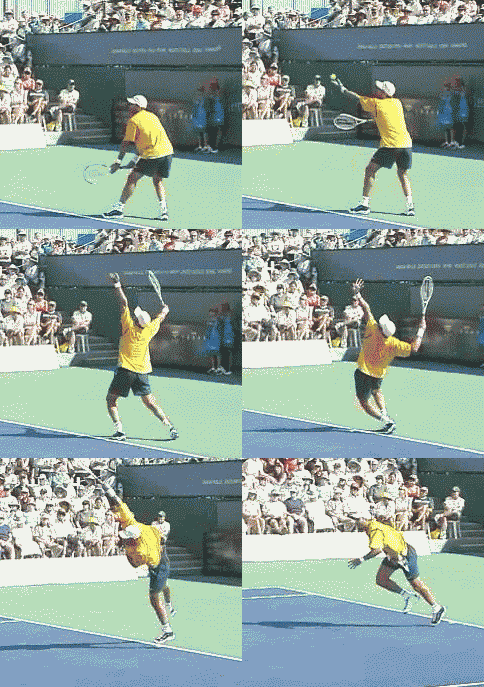
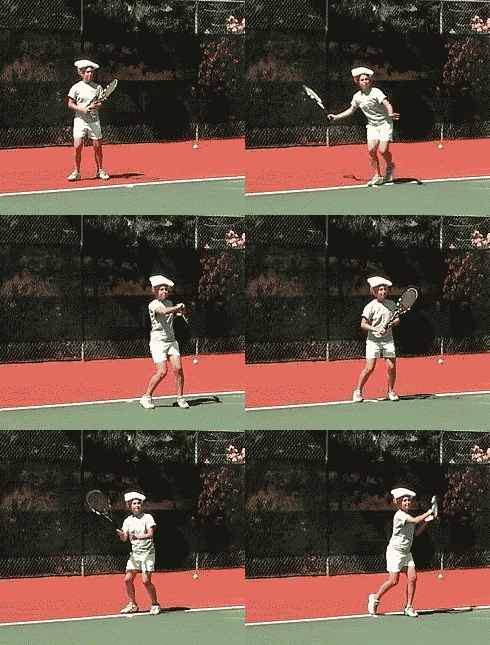
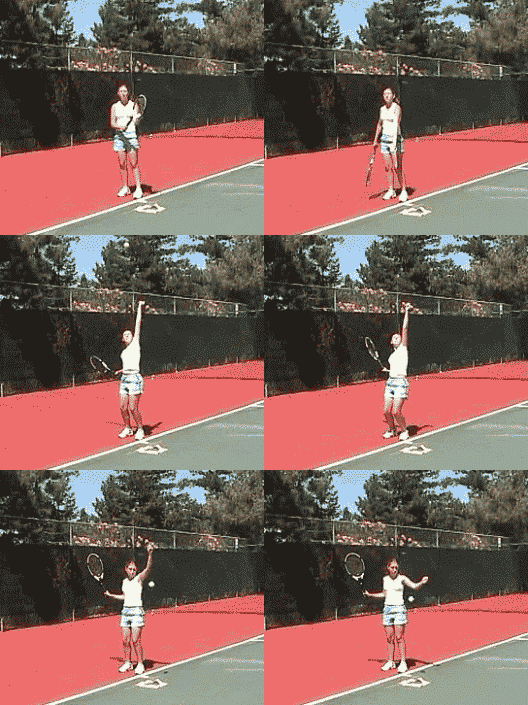
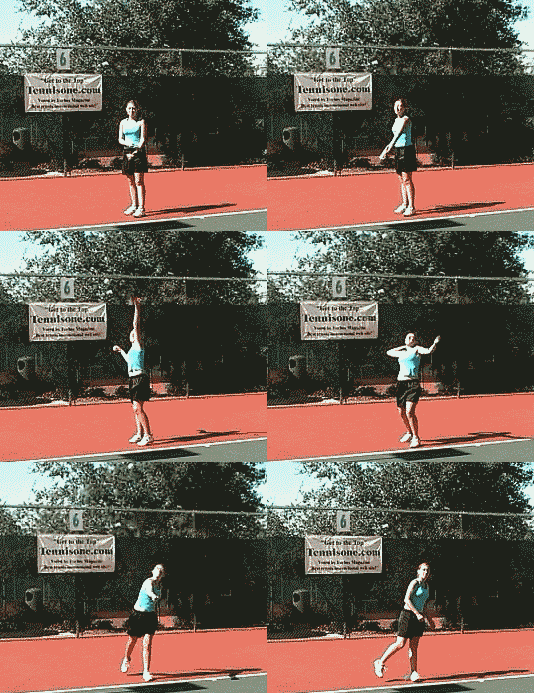
REMEMBER: The higher the POINT OF IMPACT (based on the grip used), the closer your feet should be to each other. Level 4: Stroke-Specific Balance Exercises Purpose: to develop a player's neuromuscular control and improve a player's state of equilibrium for specific strokes. ServesDrill: Two-ball collision Have a ball in each hand. Mimic the serve motion and release both balls to try to make the two balls hit each other. Great for synchronization of the hands on the serve Drill: Eyes-shut and server Player starts the serve with their eyes shut and throughout the serve motion. The player's goal is just to hit the ball with the racquet. Return of serve
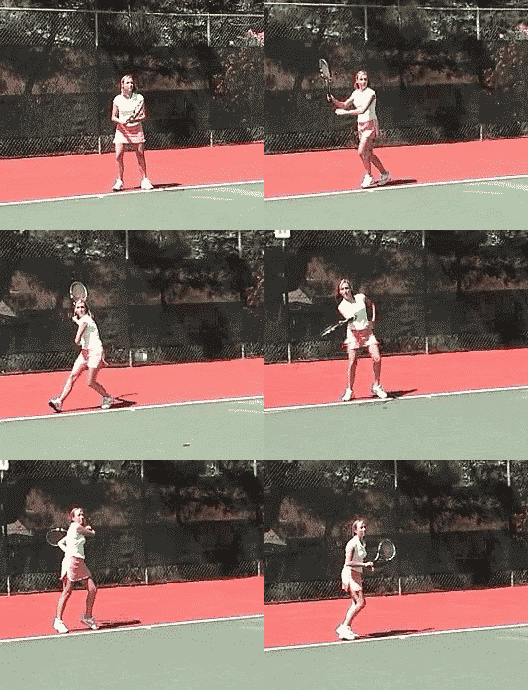
Drill: Player has a cap down with the brim covering his or her face. On hearing The ball being struck on the serve, the player look ups and attempts to return the serve Drill: 360-degree turn As the server tosses the ball getting ready to strike the serve, the player spins around (360 degrees) and attempts to return the serve. Groundstrokes and Volleys Drill: Rapid-fire feed Balls are fed to the player at a very fast pace with very little time in-between feeds, player attempts to hit all the balls (whether it is the groundstrokes or the volleys) Drill: One-legged volleyer Volley rally with hopping on one leg. Overheads Drill: Cup o' water Player hits overheads with a cup of water in their non-dominant hand. The player's goal is avoid spilling water from the cup. Summary In summary, balance training must, from the start, be very carefully incorporated into the technique learning process. Top players almost never lose balance, and if they do, then they usually hit the ball like any other amateur player, because they are subject to the same laws of mechanics as the great mass of amateur players. This article serves as just an example on how to train balance for tennis. Each coach or player should try to develop a balance-training program to fit the needs of his/her players so that the player can learn to master and control his/her body. The next article will be on racquet acceleration and control training. Your comments are welcome. Let us know what you think about Feisal Hassan's article by emailing us here at TennisONE
Feisal is currently the Director of Tennis at the Regency Sport and Health in McLean, Virginia. |


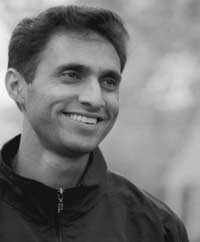 Feisal Hassan, a USPTA Master Professional and PTR certified professional, is a member of the Head/Penn Racquet Sports National Advisory Board and National Speaker's Bureau, the Director of Certification & Testing for the USPTA Middle States division and a USA High Performance Coach.