|
TennisOne Lessons
Part one of this article dealt with what a successful volleyer needs to do prior to the ball being hit towards him. In a nutshell: be really ready! But now that the ball is on its way, what comes next? Obviously, there are mechanical and tactical considerations that are determined in great part by the variables of the ball you’re dealing with, and where your opponent is subsequent to making his shot. But in this second article, let’s start with the mechanics of the basic forehand and backhand volleys. The Arm FrameworksProbably the most misunderstood part of volley mechanics
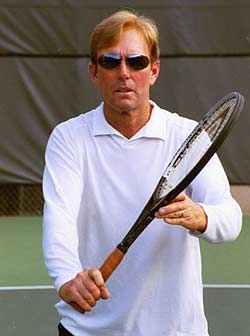
is what I call, “the arm frameworks.” The arm framework positions your
racquet in relation to your body and also to the oncoming ball. Unless the
ball is exceptionally high, low, or wide, the key to the framework for
both the forehand and backhand volleys is the position of your hands, and
your elbows in the ready position.
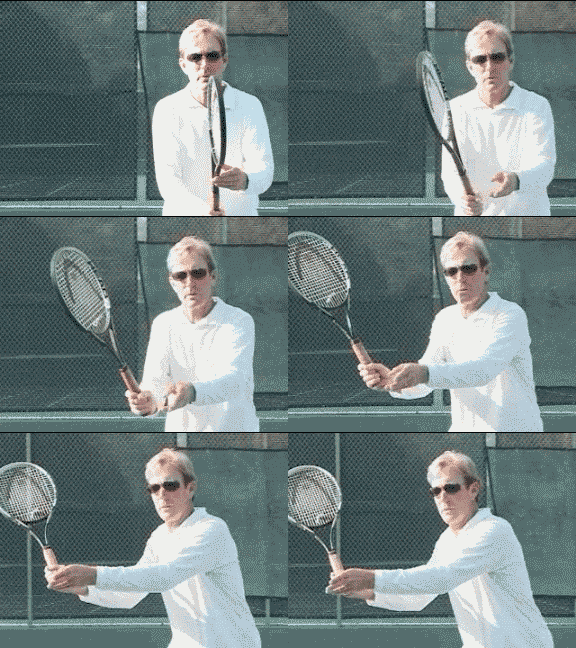
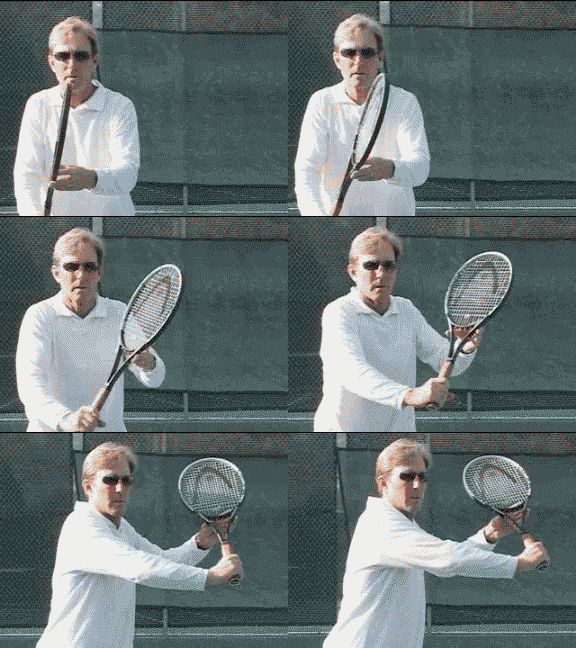
Forehand VolleyDuring a forehand volley, the bent and locked positions of the wrist and elbow should be maintained as much as possible because they drive and stabilize the shot. Once the framework is established, the opposite shoulder initiates a slight turn so that the racquet stays more or less within your peripheral vision. As you turn, you’re basically just moving your ready position over. Note that the racquet head is in a ¾ turn position, or in other words, midway between 12 o’clock and 3 o’clock (or 9 o’clock depending on the side). Whenever possible, this ¾ position is what you strive for. Neophytes tend to either “hammer” the ball from straight over the shoulder, or try what amounts to a mini-groundstroke from hip level.
At the end of the turn (backswing), the edges of the racquet should be lined up more or less evenly. At this point, the wrist is back against itself and the racquet face is slightly open. This position is critical because it paves the way for
correct forward hitting motion. This movement of the racquet forward to
the ball is driven by the heel of the racquet hand and the butt of the
racquet handle. This “heel-hand” combination pushes the racquet face to
the ball and keeps it firm through impact.
For added stability, squeeze the bottom three fingers of the hitting hand just before striking the ball. Now follow through as if volleying through a line of three balls. This will keep the racquet head firm and on line with the intended target. Be careful to avoid a condition known as “dishing.” This occurs when a player literally tries to roll the racquet face under and around the ball to get more underspin. Sometimes when watching an accomplished volleyer it appears this is taking place but, in fact, it is more a reaction to the impact, not a purposeful movement. Keep the wrist firm! If you rotate the racquet face before impact you’ll take the steam out of your volley. The non-hitting arm shouldn’t be taken for granted. For purposes of synchronization and balance it should neither move across the body, stunting the shot, nor move wildly away from the body, causing a loss of control.
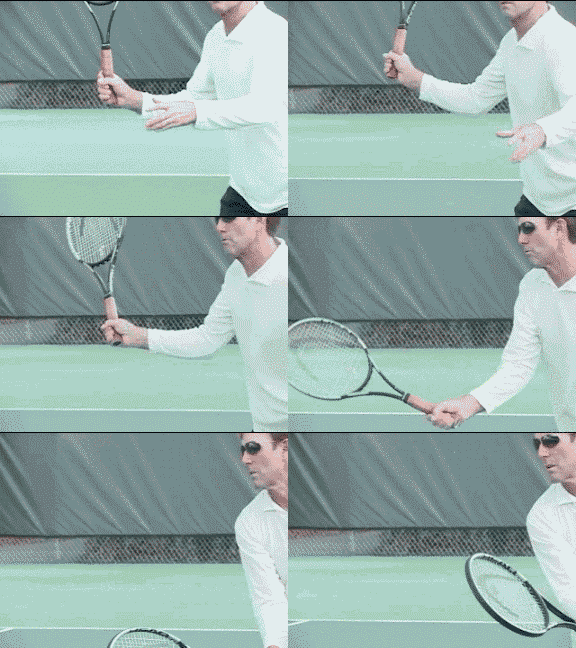
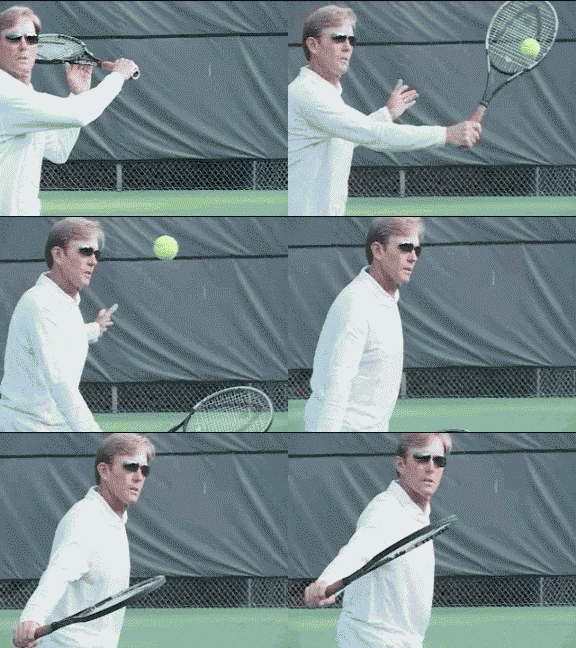
The position of the non-hitting arm will vary depending on the ball you’re dealing with, but for the most part, think of it as moving a little to the left (right-hander) from where it supports the racquet in the ready position. Backhand VolleyWith the backhand volley, I find that a number of players are lazy with regard to the backswing. If the wrist isn’t cocked sufficiently the tendency to use too much wrist and or spray the ball wide is far greater. As you initiate the turn with the opposite shoulder it is equally important to get the edges even so the racquet face is slightly open. If you’re having difficulty with this you can cheat a bit by pre-positioning to the backhand side in the ready position.
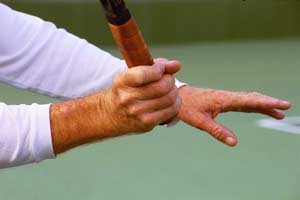
To acquire this, start with your racquet in the equidistant ready position and then with your hitting hand, push the handle a bit forward and to the right. The palm will now face down instead of to the side and the racquet will list a bit to the backhand side. As the shoulders turn (to prepare the racquet) the correct position of the racquet face is virtually automatic. Pete Sampras and Tim Henman are two very noteworthy volleyers who prepare this way. For most players this usually won’t have an ill effect on the forehand volley, but if it does, then you just need to work harder at the backhand preparation from the equidistant ready position described in Part 1. Unlike the forehand, where the heel of the hand is an integral part in initiating the forward swing, on the backhand it is the leading edge or side of the hand. By this I mean the part of the hand that sits immediately above the butt of the handle (not the back of the hand). Another physiological difference of note between the backhand and forehand volleys is the hitting and non-hitting arm positions at contact. Whereas on the forehand you try to avoid fully extending the hitting arm, on the backhand the arm should be extended at contact.
If the arm remains bent on the backhand, the contact will be late and the racquet face too open. Simultaneous with the forward swing, the non-racquet arm moves back and away, to a lesser degree on faster balls, and to a greater degree on the slow ones. As on the slice backhand groundstroke, this keeps the shoulders perpendicular for the sake of control. Many volleyers, whether they do it consciously or not, take an oversized backswing in an effort to create power. It’s not that this never works, but by following the check points above you should be able to achieve all the power you’ll ever need with a minimal forward swing. To prove this to yourself, lean up against the net in the ready position. Your racquet and your elbows should be on the opponent’s side of the net. Have someone toss relatively slow balls to either side without making you move.
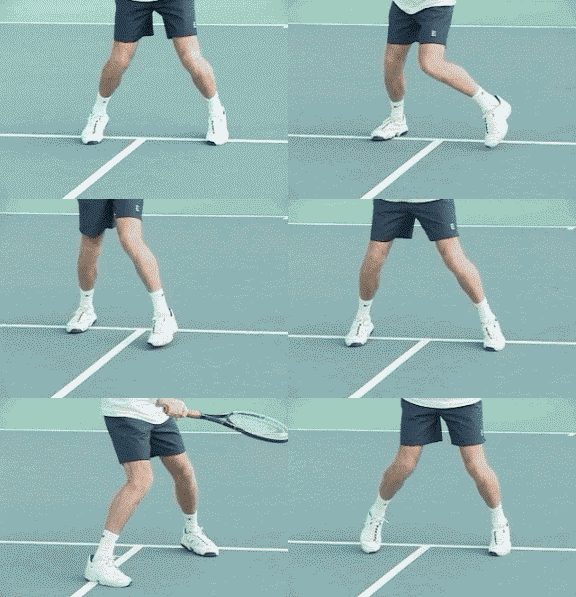
Volley the ball while using the correct models, making sure not to let your backswing exceed the net and notice how much power you’re able to generate even without weight transfer. The reality however, is that more often than not, it’s not sheer power, but the ability to volley deep or at an angle that wins the point. Better placement and a more compact swing go hand in hand. FootworkNo matter how solid your racquet work is, as always, it has to go hand in hand with good footwork. The importance of the ready hop has been discussed; and sometimes that’s all you’ll have time to do, especially in the fast exchanges encountered in doubles.
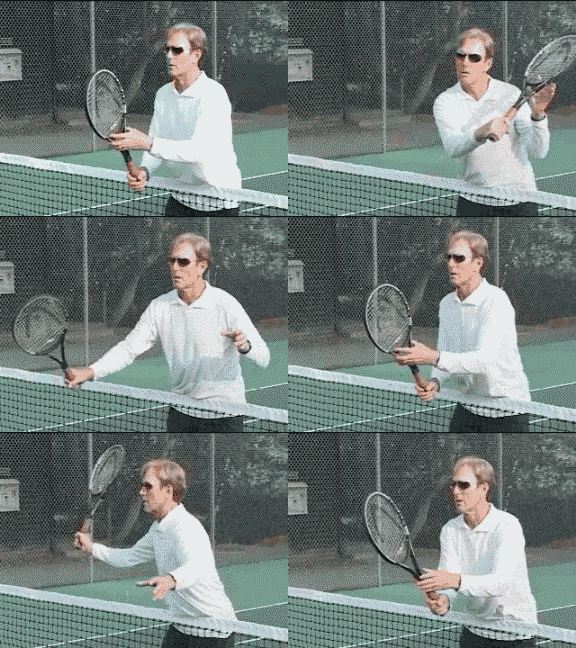
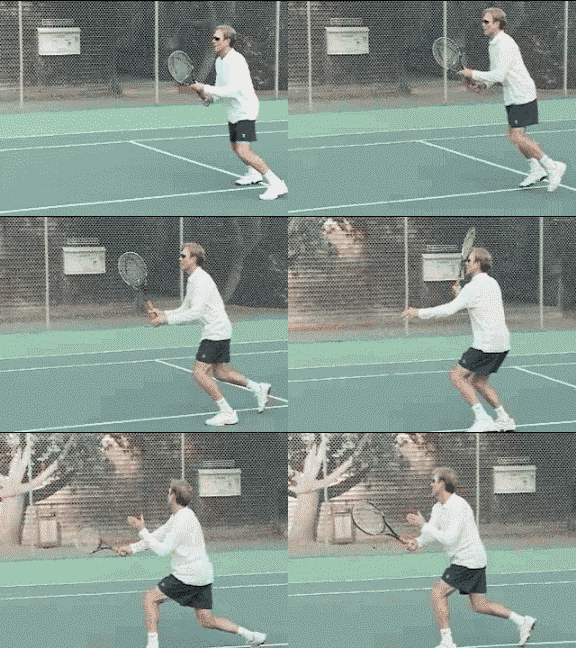
However, whenever possible you should try and step into the volley. The momentum you gain from stepping in helps insure your volley stroke will remain compact. Flat feet practically guarantee you’ll overswing to compensate for the lack of weight transfer. It’s important to note that this step starts before the racquet begins its forward motion to the ball. Picture standing on the base of an equidistant triangle, making a ready hop and then stepping to the top of the triangle before ready hopping back to the base. Practice this at fairly close range with a partner and it will be a continuous sequence of: ready hop-step and volley, ready hop-step, and volley and so on.
When one of the players is at the baseline there’s usually a little more down time for the volleyer consequently the sequence changes to: ready hop-step and volley, ready hop-move (bounce on your toes or cover the angle), ready hop-step and volley, ready hop-move, and so on. Of course there will be plenty of occasions where taking more than one step will be necessary. On a ball that’s short and or floating be sure to “close.” This means to move forward, taking however many steps are required to put you in an offensive volley position. One last thought
about your movement at the net. As the ball approaches think to prepare your
racquet first and let your feet move accordingly. If you don’t line the
racquet up early enough, you risk being out of position and unprepared to
volley in time.
TennisONE is an informational and instructional Website. Your feedback is important to us. Let us know what you think and what you’ve learned by emailing us here at TennisONE.
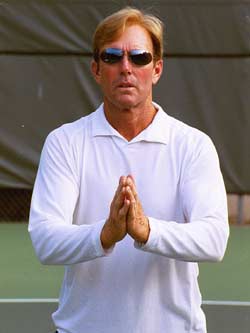
Scott Murphy directs the Nike Tahoe Junior and Adult Tennis Camps at the Granlibakken Resort in Tahoe City, California.
|
To contact us, please email to: webmaster@tennisone.com TennisONE is a registered trademark of TennisONE and SportsWeb ONE; Copyright 1995. All rights reserved. |
||||||||||||||||||


 Scott Murphy is from Marin County, California where he started playing
tennis at age 5 in a family of tennis nuts. Both of his parents were major
influences in his development. He also took lessons from Marin legend Hal
Wagner and former top 10, Harry Roach.